7
Overview
In this lesson, you will learn how to control a small DC motor using an Arduino and a transistor.

To build the project described in this lesson, you will need the following parts.
Part
Qty
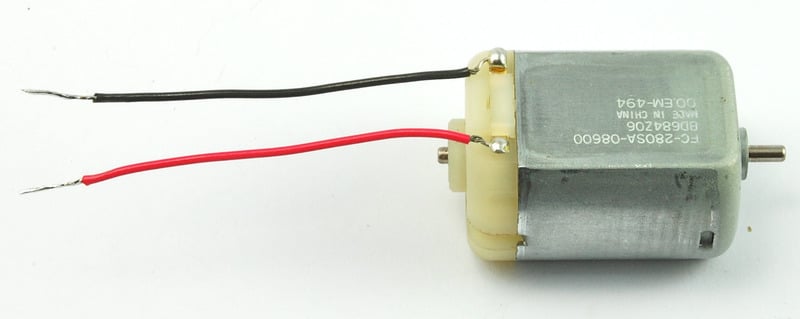
Small 6V DC Motor
1
PN2222 Transistor
1
1N4001 diode
1
270 Ω Resistor (red, purple, brown stripes)
1
Half-size Breadboard
1
Arduino Uno R3
1
Jumper wire pack
Breadboard Layout
When you put together the breadboard, there are two things to look out for.
Firstly, make sure that the transistor is the right way around. The flat side of the transistor should be on the right-hand side of the breadboard.
Secondly the striped end of the diode should be towards the +5V power line - see the image below!
The motor that comes with Adafruit Arduino kits does not draw more than 250mA but if you have a different motor, it could easily draw 1000mA, more than a USB port can handle! If you aren't sure of a motor's current draw, power the Arduino from a wall adapter, not just USB

The motor can be connected either way around.
Arduino Code
Load up the following sketch onto your Arduino.
- /*
- Adafruit Arduino - Lesson 13. DC Motor
- */
- int motorPin = 3;
- void setup()
- {
- pinMode(motorPin, OUTPUT);
- Serial.begin(9600);
- while (! Serial);
- Serial.println("Speed 0 to 255");
- }
- void loop()
- {
- if (Serial.available())
- {
- int speed = Serial.parseInt();
- if (speed >= 0 && speed <= 255)
- {
- analogWrite(motorPin, speed);
- }
- }
- }
The transistor acts like a switch, controlling the power to the motor, Arduino pin 3 is used to turn the transistor on and off and is given the name 'motorPin' in the sketch.
When the sketch starts, it prompts you, to remind you that to control the speed of the motor you need to enter a value between 0 and 255 in the Serial Monitor.


ความคิดเห็น
แสดงความคิดเห็น